
Learn how to calibrate your ThermoPro thermometer using the ice water and boiling water methods
If your ThermoPro thermometer has been giving you readings that seem a little too high or too low, calibration is usually the fix. A thermometer that’s off by even a few degrees can mean the difference between a perfectly cooked steak and one that’s undercooked or dried out. For anyone grilling, smoking meat, or just checking if their chicken is safe to eat, accuracy matters more than people realize.
Calibration is the process of checking your thermometer against a known temperature point, like freezing or boiling water, and adjusting it if the reading doesn’t match up. It sounds technical, but it takes just a couple of minutes and doesn’t require any special tools for most models.
So how often should you actually do this? A few situations call for a check:
- After dropping the thermometer, even if it looks fine on the outside
- After it’s been exposed to extreme heat or cold, like sitting in a hot car or being stored somewhere below freezing
- Every few months as routine maintenance, especially if you use it often
- Before a big cook, if you want peace of mind that your readings are trustworthy
The good news is that calibrating a thermometer takes just a few minutes, and once you know the steps, you can do it anytime something seems off. The next sections walk through exactly how.
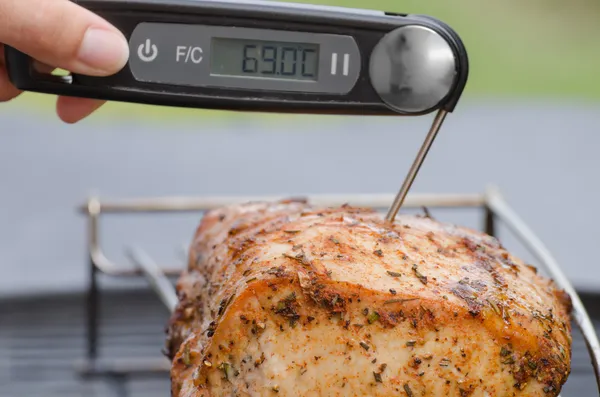
Signs Your Thermometer Needs Calibration
According to the USDA Food Safety and Inspection Service, most food thermometers should read accurately within 2 to 4 degrees Fahrenheit when properly calibrated.
Not sure if your thermometer actually needs calibrating, or if it’s just reading correctly and the food itself is the problem? Here are a few clues to watch for.
Readings that don’t match reality. If you’re cooking something and the temperature seems way off from what you’d expect, that’s the clearest sign. For example, if chicken breast reads done at 165°F but still looks raw inside, or if water you know is boiling reads anything other than 212°F at sea level, the thermometer is likely out of calibration.
A recent drop or impact. Thermometers, especially ones with dial faces, have small internal components that can shift out of place after being dropped, even from a short height. If yours has taken a fall recently, it’s worth checking before you trust it again.
Exposure to extreme temperatures. Leaving a thermometer in a hot car, near an open flame, or somewhere below freezing can affect its internal calibration over time. If your thermometer has been through any temperature extremes outside normal use, a quick check is a good idea.
It’s been a while since the last check. Even without any obvious incident, thermometers can drift out of calibration gradually with regular use. If you can’t remember the last time you checked yours, that’s reason enough to test it now.
Inconsistent readings between uses. If you notice the same food or liquid giving different readings on separate occasions under similar conditions, this points to a calibration issue rather than a cooking problem.
If any of these sound familiar, move on to the next section, where the actual tools and setup for calibration are covered.
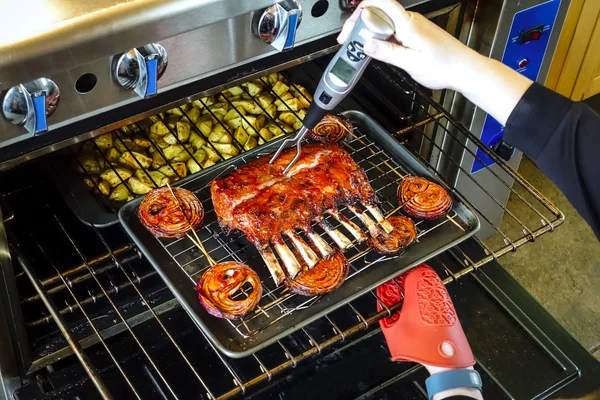
Tools You’ll Need
Calibrating a ThermoPro thermometer doesn’t require anything fancy. Most of what’s needed is probably already in the kitchen.
A glass of ice water, or a pot of boiling water. These are the two reference points used for calibration, since both have known, consistent temperatures: 32°F (0°C) for ice water and 212°F (100°C) for boiling water at sea level. Only one of these methods is needed to check calibration, though using both gives a more complete picture across the temperature range.
Your ThermoPro thermometer. Whether it’s a dial-style meat thermometer, a digital probe, or a wireless model like the TP-620 or TP-510, the calibration process follows the same basic idea, though the exact steps for adjusting vary by model.
A wrench or calibration nut tool, for analog models. Dial thermometers like the TP-16 or TP-17 usually have a small hex nut on the back of the dial face. A small wrench or pair of pliers is used to turn this nut and adjust the reading. This tool often comes included with the thermometer, but a small adjustable wrench works just as well if it’s been misplaced.
The instruction manual, for digital and wireless models. Digital thermometers typically calibrate through a reset function or an offset setting rather than a physical adjustment, and the exact steps can differ between models. Keeping the manual handy, or looking up the model number online, makes this part easier.
With everything ready, the next step is running through the actual calibration methods.
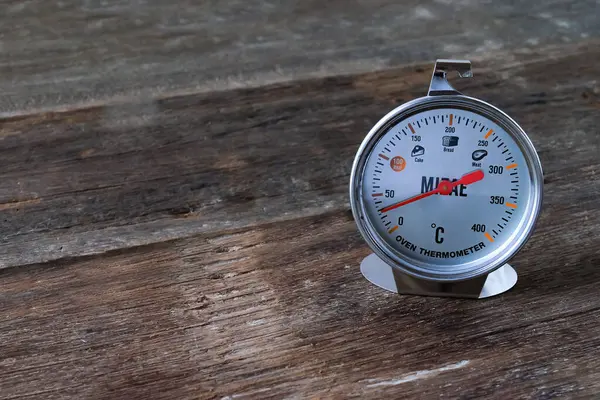
Method 1: Ice Water Calibration
This is the most common way to check a thermometer’s accuracy, and it works for nearly every ThermoPro model.
Step 1: Fill a glass with ice. Use crushed ice or ice cubes and fill a tall glass about three-quarters full.
Step 2: Add cold water. Pour cold water in until the glass is full, then stir the mixture for a few seconds. This helps bring the whole glass to a consistent, even temperature.
Step 3: Let it sit for about 30 seconds. This gives the ice and water time to settle into a stable 32°F (0°C), which is the freezing point of water.
Step 4: Insert the thermometer probe. Place the probe into the center of the glass, making sure it doesn’t touch the sides or the bottom, since contact with the glass can throw off the reading. For dial thermometers, insert the probe about 2 inches deep.
Step 5: Wait for the reading to stabilize. This usually takes 30 seconds to a minute. Watch the display or dial until the number stops moving.
Method 2: Boiling Water Calibration
This second method checks the thermometer at the other end of the temperature scale, which is useful for confirming accuracy at higher temperatures, like when checking meat doneness or oil temperature for frying.
Step 1: Fill a pot with water and bring it to a boil. Use enough water so the probe can be inserted without touching the bottom of the pot.
Step 2: Wait for a rolling boil. A gentle simmer isn’t enough. The water needs to be at a full, rolling boil to reach its true boiling point.
Step 3: Insert the thermometer probe. Place it into the water so it’s submerged but not touching the sides or bottom of the pot. For dial thermometers, insert it about 2 inches deep, the same as with the ice water method.
Step 4: Wait for the reading to stabilize. Give it about 30 seconds to a minute for the number to settle.
Step 5: Check the reading. At sea level, boiling water should read 212°F (100°C). If the thermometer matches this, it’s calibrated correctly.
Step 6: Adjust if needed. The process is the same as with ice water:
- Dial thermometers: Turn the hex nut on the back with a wrench while the probe is still in the boiling water, until it reads 212°F.
- Digital thermometers: Use the calibration or offset setting described in the manual to correct the reading.
A note on altitude. Boiling point drops as elevation increases, roughly 1°F for every 500 feet above sea level. So at higher altitudes, the thermometer won’t read exactly 212°F even when working correctly. The ice water method is more reliable for anyone living somewhere with significant elevation, since freezing point doesn’t shift with altitude the way boiling point does.
For anyone doing this often, a thermometer with a fast, stable response makes the whole process quicker. Models like the ThermoPro TP-19H or TP-03B tend to settle on a reading fast, which cuts down on the waiting time during calibration checks.
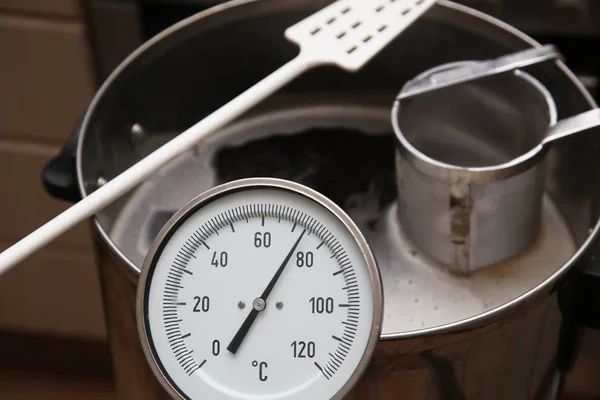
Calibration Steps by ThermoPro Model
Calibration works a little differently depending on the type of thermometer. Here’s a breakdown by category.
Analog dial models
Dial thermometers like the ThermoPro TP-16 and TP-17 use a simple mechanical adjustment. On the back of the dial face, there’s a small hex nut. While the probe sits in ice water or boiling water, this nut is turned with a wrench until the dial matches the expected temperature. These models tend to be popular for oven and grill use since they don’t rely on batteries, though this also means they need calibration checks a bit more often than digital versions.
Digital instant-read and probe models
Digital models such as the TP-03B and TP-19 typically calibrate through a button combination rather than a physical nut. On many of these, holding down a specific button for a few seconds while the probe is in ice water triggers a reset to 32°F. The TP-19 in particular is worth mentioning here, since it includes a built-in calibration function that makes this process faster than older digital models.
Wireless and Bluetooth models
Wireless models like the TP-25 and TP-910 connect to an app, and some offer calibration settings directly within that app rather than on the device itself. For these, checking the app’s settings menu is the first step, since the offset adjustment may be listed there instead of on the thermometer. These models are a good fit for anyone who wants to monitor temperature remotely while grilling or smoking without needing to open the lid repeatedly.
A quick note on choosing a model
For anyone whose current thermometer is proving difficult to calibrate accurately, or who’s noticing consistent drift, it might be a sign that a newer model is worth considering. The TP-19 in particular is designed with calibration accuracy in mind, making it a solid option for anyone who calibrates often.
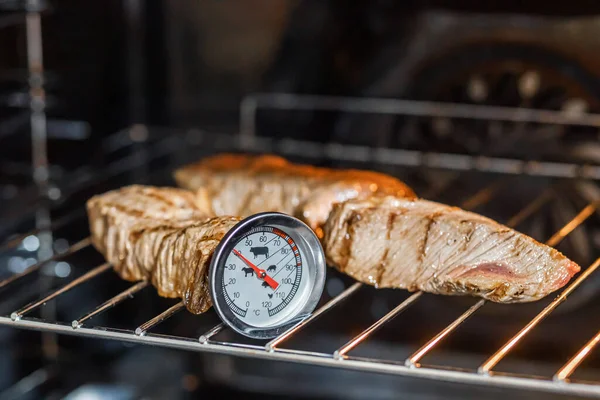
When to Replace Instead of Recalibrate
Calibration fixes most accuracy issues, but there are times when a thermometer has reached the end of its useful life, and no amount of adjusting will fix it.
Persistent inaccuracy even after calibration. If the reading keeps drifting off target no matter how many times it’s recalibrated, or if it won’t hold a calibration for more than a day or two, this usually points to an internal issue rather than something fixable from the outside.
Physical damage to the probe or display. A bent probe, cracked display, or frayed wire on a probe-style thermometer can affect accuracy in ways that calibration can’t correct. If the housing or probe itself is damaged, replacement is the safer option, both for accuracy and for safety around heat sources.
Battery or connectivity problems on digital and wireless models. If a digital or Bluetooth thermometer struggles to hold a charge, loses connection frequently, or the display becomes hard to read, these are signs of hardware wear rather than a calibration problem.
It’s simply outdated. Older models may lack the calibration features found in newer ones, making the whole process more of a hassle than it needs to be.
For anyone in this situation, ThermoPro’s current lineup covers a range of needs. The TP-19 offers a built-in calibration function for digital ease, the TP-16 and TP-17 are solid picks for classic dial-style reliability, and the TP-25 or TP-910 make sense for anyone who wants wireless monitoring during longer cooks. Each comes with clear calibration instructions in the manual, making it easier to keep accuracy in check going forward.
Conclusion
Keeping a thermometer calibrated is a small habit that makes a real difference in the kitchen, whether it’s grilling, smoking, or making sure food reaches a safe internal temperature. The ice water method and the boiling water method both offer simple, reliable ways to check accuracy, and most ThermoPro models can be adjusted in just a few minutes once an issue is spotted.
Making this a routine check, especially after a drop or a long stretch without testing, helps avoid the guesswork that comes with a thermometer that’s quietly drifted out of accuracy. And for anyone whose current thermometer keeps needing adjustment or won’t hold calibration, it might be time to look at the broader ThermoPro lineup. Options like the TP-19 for digital ease, the TP-16 or TP-17 for classic dial reliability, or the TP-25 and TP-910 for wireless monitoring each offer a dependable way to keep cooking temperatures accurate, cook after cook.