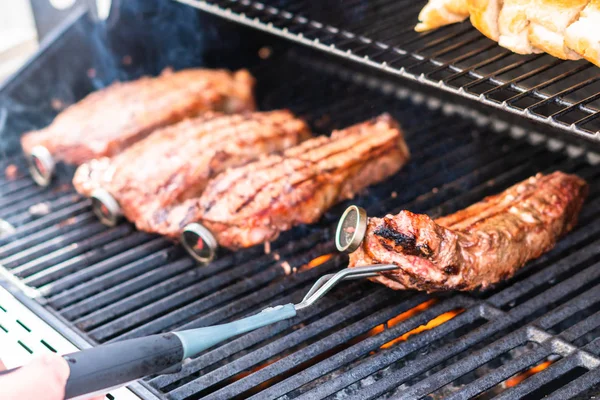
Why Your Steaks and Chicken Keep Coming Out Wrong (It’s Not Your Cooking)
Owning a ThermoPro thermometer doesn’t automatically mean perfect results every time. Dry chicken breast. A steak that’s somehow both overcooked on the outside and undercooked in the middle. Burgers that seem done but turn out pink after you cut in. Most of these problems come down to a handful of small, fixable habits — not a bad tool.
A ThermoPro meat thermometer is only as accurate as the habits behind it. Even a high-quality thermometer gives misleading readings if it’s placed in the wrong spot, checked too early, or trusted without ever being calibrated. These aren’t complicated mistakes to fix, but they’re easy to miss simply because they don’t feel like mistakes in the moment.
Each section ahead pairs a common cooking frustration with the specific thermometer habit causing it, so it’s easier to recognize which one might be showing up in the kitchen right now.
Mistake #1: Inserting the Probe in the Wrong Spot
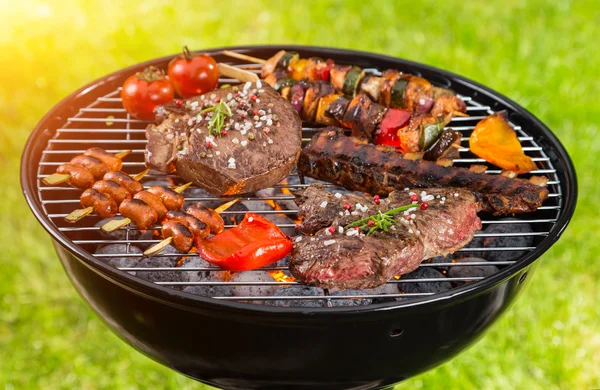
One of the most common reasons for a misleading reading is where the probe actually lands inside the meat. Touching bone gives a reading that’s often higher than the surrounding meat, since bone conducts and holds heat differently. Hitting a pocket of fat or gristle does the opposite, often reading lower than the actual muscle temperature nearby.
The fix is simple: aim for the thickest part of the meat, away from bone, fat pockets, and the edges. For something like a whole chicken, that means the thickest part of the thigh, not close to the bone. For a steak, that’s the center of the cut, inserted from the side rather than the top.
Mistake #2: Not Waiting for the Reading to Stabilize
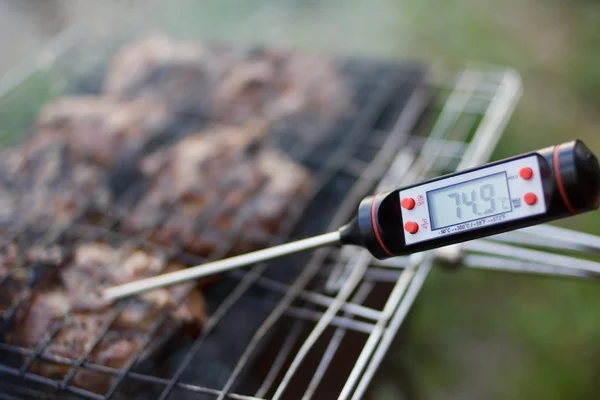
Pulling the number the instant it appears on the display is a habit that leads to inaccurate readings, especially with instant-read thermometers. Most instant-read models take anywhere from a few seconds up to 30 seconds to settle on an accurate number, depending on the model and how deep the probe is inserted.
Checking too early often shows a number that’s still climbing, which can lead to pulling meat before it’s actually reached the target temperature. Waiting for the display to hold steady, rather than glancing and moving on, avoids this entirely.
Mistake #3: Ignoring Carryover Heat
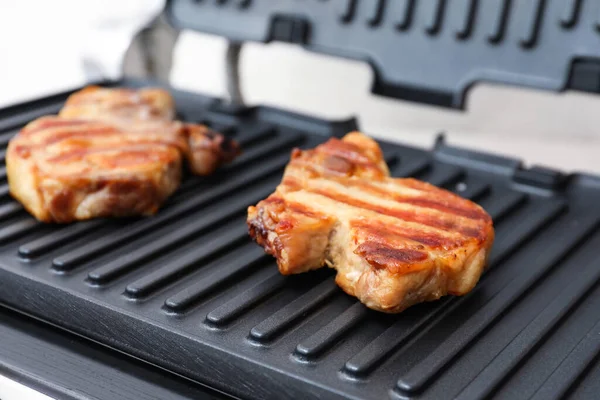
Pulling meat exactly at the target temperature is one of the most common ways a good cook ends up with an overcooked result. Since internal temperature keeps rising for several minutes after meat is removed from heat, hitting the final target while it’s still cooking means overshooting past it during rest.
Thin cuts like steaks and chops typically rise another 3-5°F after being pulled, while large roasts like turkey or brisket can climb 10°F or more. Building this into the pull temperature, rather than the final target, keeps the actual result where it’s supposed to be.
A ThermoPro thermometer with an alarm function makes this easy — set it 3-5°F below your actual target and pull the meat the moment it beeps, instead of guessing when to check.
Mistake #4: Using an Uncalibrated Thermometer
A thermometer that’s drifted out of accuracy will consistently give the wrong reading, even when every other step is done correctly. This is often the hardest mistake to catch, since nothing about the thermometer looks or feels different day to day.
A quick calibration check using ice water, which should read 32°F (0°C) when the probe is submerged without touching the glass, catches this in under a minute. Checking every few months, or any time the thermometer has been dropped or exposed to extreme temperatures, keeps this from becoming an invisible source of bad readings.
Most ThermoPro instant-read models make this check painless — no menus or buttons, just dunk the probe and confirm it reads 32°F.
Mistake #5: Checking Temperature Too Often
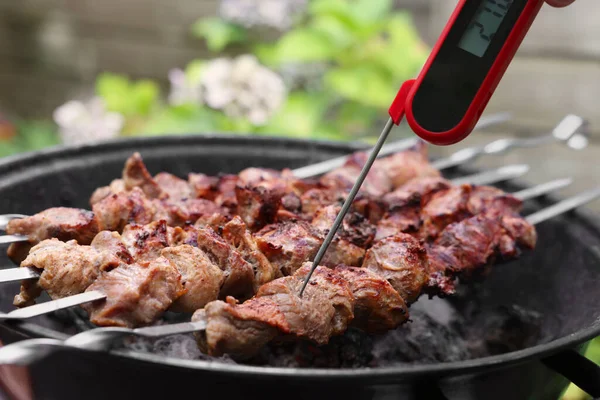
Repeatedly opening the oven door, lifting the grill lid, or piercing the meat to check progress does more harm than it seems. Each check lets heat escape from the cooking environment, which can extend cook times and lead to uneven results. Piercing the meat itself also releases juices that would otherwise stay locked in during cooking.
A ThermoPro leave-in probe thermometer solves this completely, since it tracks temperature continuously without needing to open anything or re-insert a probe. For anyone without a leave-in option, limiting checks to just once or twice near the expected finish time avoids most of this problem.
Mistake #6: Relying on Cook Time Instead of Temperature
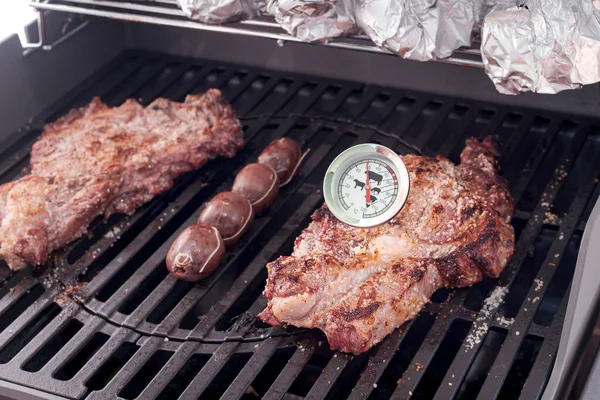
Recipe times are estimates, not guarantees. Oven temperature can vary by 25°F or more from what’s set, meat starting temperature affects how long it takes to cook, and thickness varies even within the same cut. Following a recipe’s stated time as if it’s exact often leads to meat that’s under or overcooked despite following the instructions perfectly.
Temperature is the only reliable way to confirm doneness, regardless of how long something has technically been cooking. Using the stated time as a rough guide for when to start checking, rather than as the final word, avoids this mismatch.
Mistake #7: Not Accounting for Thin Cuts
A ThermoPro thermometer probe designed for a thick roast doesn’t automatically work the same way on a thin chicken breast or a burger patty. If the probe tip goes in too deep, it can end up reading the temperature of the pan or grill grate below the meat, rather than the meat’s actual center.
For thin cuts, inserting the probe at an angle, sideways through the side of the meat rather than straight down, keeps the tip centered in the thickest part without poking through to the surface underneath.
Mistake #8: Forgetting to Clean the Probe Between Uses
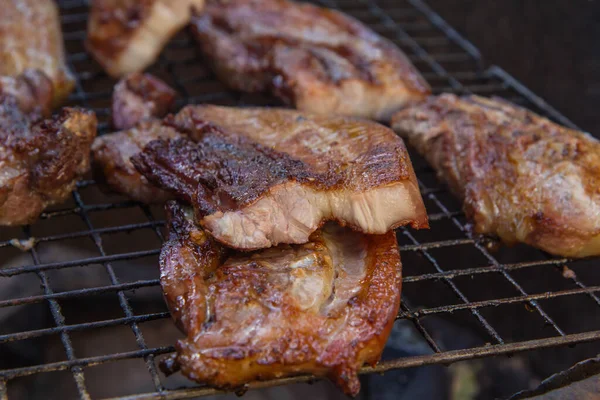
Using the same probe to check raw chicken and then a steak without cleaning it in between creates a cross-contamination risk, since bacteria from raw poultry can transfer directly onto other food. This is an easy step to forget in the middle of a busy cook, but it’s also one of the simplest food safety habits to build in.
Wiping the probe with a sanitizing wipe or washing it with soap and water between uses, especially between different types of raw protein, closes this gap without adding much time to the process.
Mistake #9: Using the Wrong Thermometer for the Job
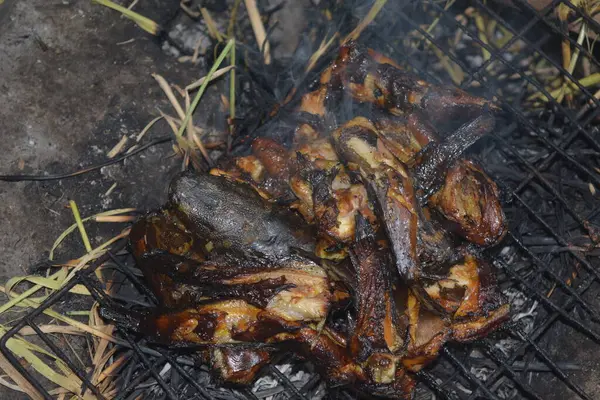
Not every thermometer fits every cooking method. Grabbing an instant-read thermometer for a 12-hour smoke means constantly opening the smoker to check, losing heat each time. Using a leave-in probe thermometer for a quick sear, on the other hand, can be more setup than the short cook time actually calls for.
Matching the thermometer type to the cooking method avoids this mismatch: instant-read for quick checks and thin cuts, leave-in or wireless probes for long, slow cooks like smoking or roasting where continuous monitoring matters more.
Mistake #10: Not Trusting the Thermometer Over Visual Cues
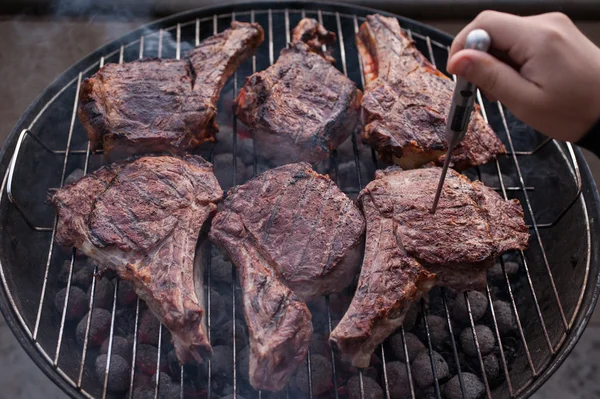
Assuming meat “looks done” and skipping the temperature check entirely is one of the riskiest habits on this list, especially with poultry. Color and juice clarity are unreliable indicators of doneness. Chicken can appear fully cooked on the outside while still being undercooked at the center, and juice color can vary based on factors that have nothing to do with actual internal temperature.
A thermometer reading is the only reliable way to confirm doneness, particularly for poultry and ground meat, where undercooking carries real food safety risk. Treating the thermometer as the final word, rather than a backup to visual judgment, removes the guesswork entirely.
How to Build Better Habits Going Forward
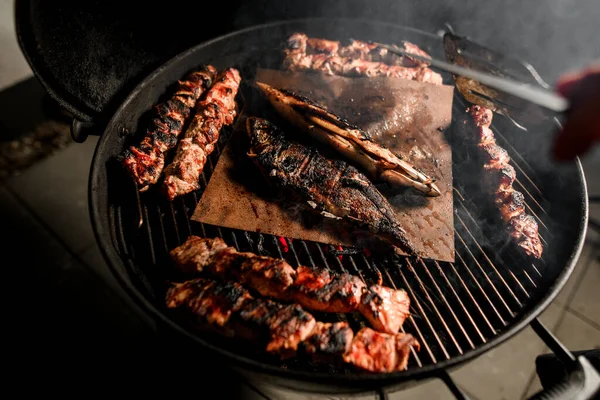
Most of these mistakes share the same root cause: treating the thermometer as an occasional check-in rather than a consistent part of the cooking process. A few small adjustments cover most of the list at once.
Quick recap checklist:
- Insert the probe into the thickest part of the meat, away from bone and fat
- Wait for the reading to fully stabilize before trusting it
- Pull meat a few degrees before the final target to account for carryover
- Calibrate the thermometer every few months using the ice water method
- Clean the probe between different types of raw protein
- Match the thermometer type to the cooking method
A ThermoPro wireless or multi-probe thermometer with leave-in monitoring and target temperature alerts solves several of these at once automatically, since it removes the need for repeated checks, factors in a custom pull temperature, and tracks the reading continuously without opening the grill, smoker, or oven.
FAQ
What’s the single most common thermometer mistake?
Not accounting for carryover heat is likely the most common, since it affects nearly every cut of meat and leads directly to overcooking even when the thermometer reading itself was accurate at the time of pulling.
Can a bad habit damage the thermometer itself?
Some habits can, yes. Leaving a probe in extremely high heat beyond its rated temperature, or failing to clean and dry it properly, can shorten its lifespan or affect accuracy over time. Most thermometers list a maximum temperature rating in the manual worth checking.
How do I know if my readings are actually wrong?
An ice water calibration check is the fastest way to confirm this. If your Thermopro thermometer doesn’t read 32°F (0°C) in a properly mixed ice water bath, it’s likely drifted out of calibration and needs adjusting or replacing.
Small Fixes, Better Results Every Time
None of these ten mistakes require new equipment or advanced skill to fix, just a few adjusted habits around how the thermometer gets used. Placing the probe correctly, waiting for a stable reading, accounting for carryover, and keeping the thermometer calibrated cover the majority of inconsistent results that get mistaken for cooking mistakes.
A good ThermoPro thermometer paired with these habits removes most of the guesswork from cooking meat to the right doneness, consistently, without needing to rely on visual cues or recipe timing alone.